


In this article, I will show you how to install WSL (Windows Subsystem for Linux) on the Windows operating system (Windows 10 and 11), as well as how to enable Systemd support, which is now available for WSL users.
Before delving into the steps for installing WSL on your Windows machine, let's first discuss what WSL is.
What is WSL?
Microsoft Windows Subsystem for Linux (WSL) is a feature in Windows that enables developers to run GNU/Linux environments, including most command-line tools, utilities, and applications, directly on Windows without any modifications. This eliminates the need for a traditional virtual machine or dual-boot setup, reducing overhead.
WSL is available in Windows Server 2019 and Windows 10 versions starting from version 1607, but only in 64-bit editions. WSL includes software package tools such as apt and dpkg, which grant access to thousands of command-line Linux applications. These applications can operate alongside traditional Windows applications, featuring native access to the Windows filesystem.
Now, let's proceed with the steps to install the Windows Subsystem for Linux and set up the necessary tools for DevOps.
Note: The steps and commands outlined in this article are applicable for both Windows 11 and Windows 10 (version 2004 and higher, Build 19041 and higher) users.
Installing WSL
Open PowerShell or Windows Command Prompt in administrator mode by right-clicking and selecting "Run as administrator." Then, type:
wsl --install
This command activates the required features for running WSL and installs the Ubuntu Linux distribution.
Updating to WSL 2
Open PowerShell and enter the following command to set WSL 2 as your default version when installing a new Linux distribution:
wsl --set-default-version 2
To check the version of your WSL type WSL --version ; you will see the following output:
For Windows 10:
WSL version: 1.0.3.0
Kernel version: 5.15.79.1
WSLg version: 1.0.47
MSRDC version: 1.2.3575
Direct3D version: 1.606.4
DXCore version: 10.0.25131.1002-220531-1700.rs-onecore-base2-hyp
Windows version: 10.0.19045.2486
For Windows 11:
WSL version: 1.0.3.0
Kernel version: 5.15.79.1
WSLg version: 1.0.47
MSRDC version: 1.2.3575
Direct3D version: 1.606.4
DXCore version: 10.0.25131.1002-220531-1700.rs-onecore-base2-hyp
Windows version: 10.0.25267.1000
Note: To have systemd support in your installed Linux distribution, your WSL version must be the same or higher than the output listed above. If your output is lower, simply enter the command wsl --update to update your WSL version.
Installing the Linux Distribution
Open PowerShell and type wsl --list --online or wsl -l -o this will list all Linux distributions available for download.
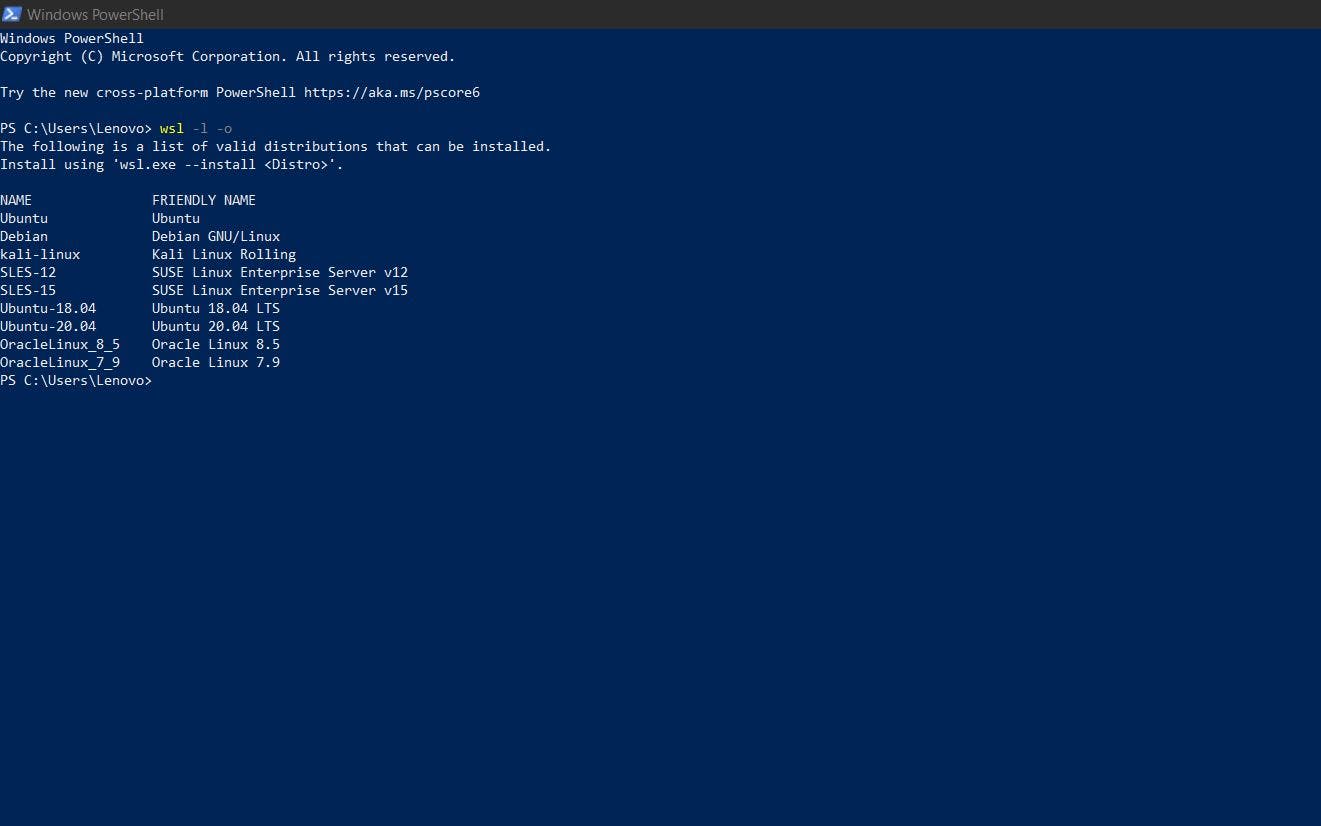
By default, the installed Linux distribution will be Ubuntu. This can be changed using the -d flag.
To change the distribution type: wsl --install -d <Distribution Name>
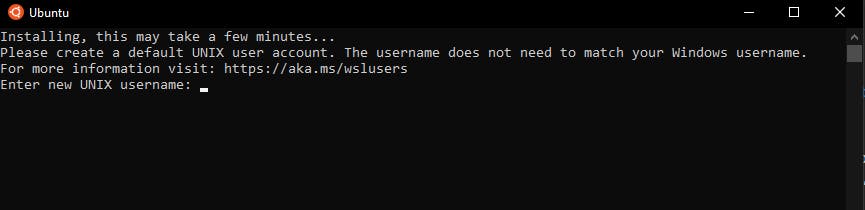
After installing the Linux distribution of your choice, you will be prompted to create a username and password for your system. Once you have entered the username and password, you can finally begin using your installed Linux distribution.
Finally, it’s always good practice to install the latest updates with the following commands, entering your password when prompted.
sudo apt update
Then
sudo apt upgrade
Press Y when prompted.
Enabling Systemd Support
Systemd is a suite of basic building blocks for a Linux system. It provides a system and service manager that runs as PID 1 and starts the rest of the system.
Systemd command(systemctl) is used to perform some basic tasks like start, stop or restart a service.
In the previous versions of WSL, Systemd Support was not available, but in the latest update this feature is added.
To add Systemd support to your system type sudo nano /etc/wsl.conf in your Ubuntu(Or any other distribution) terminal. This will open wsl.conf file in nano editor which is a text editor(there are multiple editors like vim or gedit). Now type:
[boot]
systemd=true
And close out of the nano editor using CTRL+O to save and CTRL+X to exit.
After completing the above steps close your WSL distro window. Now open PowerShell and type wsl.exe --shutdown this will restart your WSL instance. Upon launching, you should have systemd running. You can check this with the command systemctl list-unit-files --type=service which should show your services’ status.
Installing Oh-My-Zsh(Optional)
The Z shell (also known as zsh) is a Unix shell that is built on top of the bash with additional features. It's recommended to use Zsh over bash. It's also highly recommended to install a framework with Zsh as it makes dealing with configuration, plugins and themes a lot nicer.
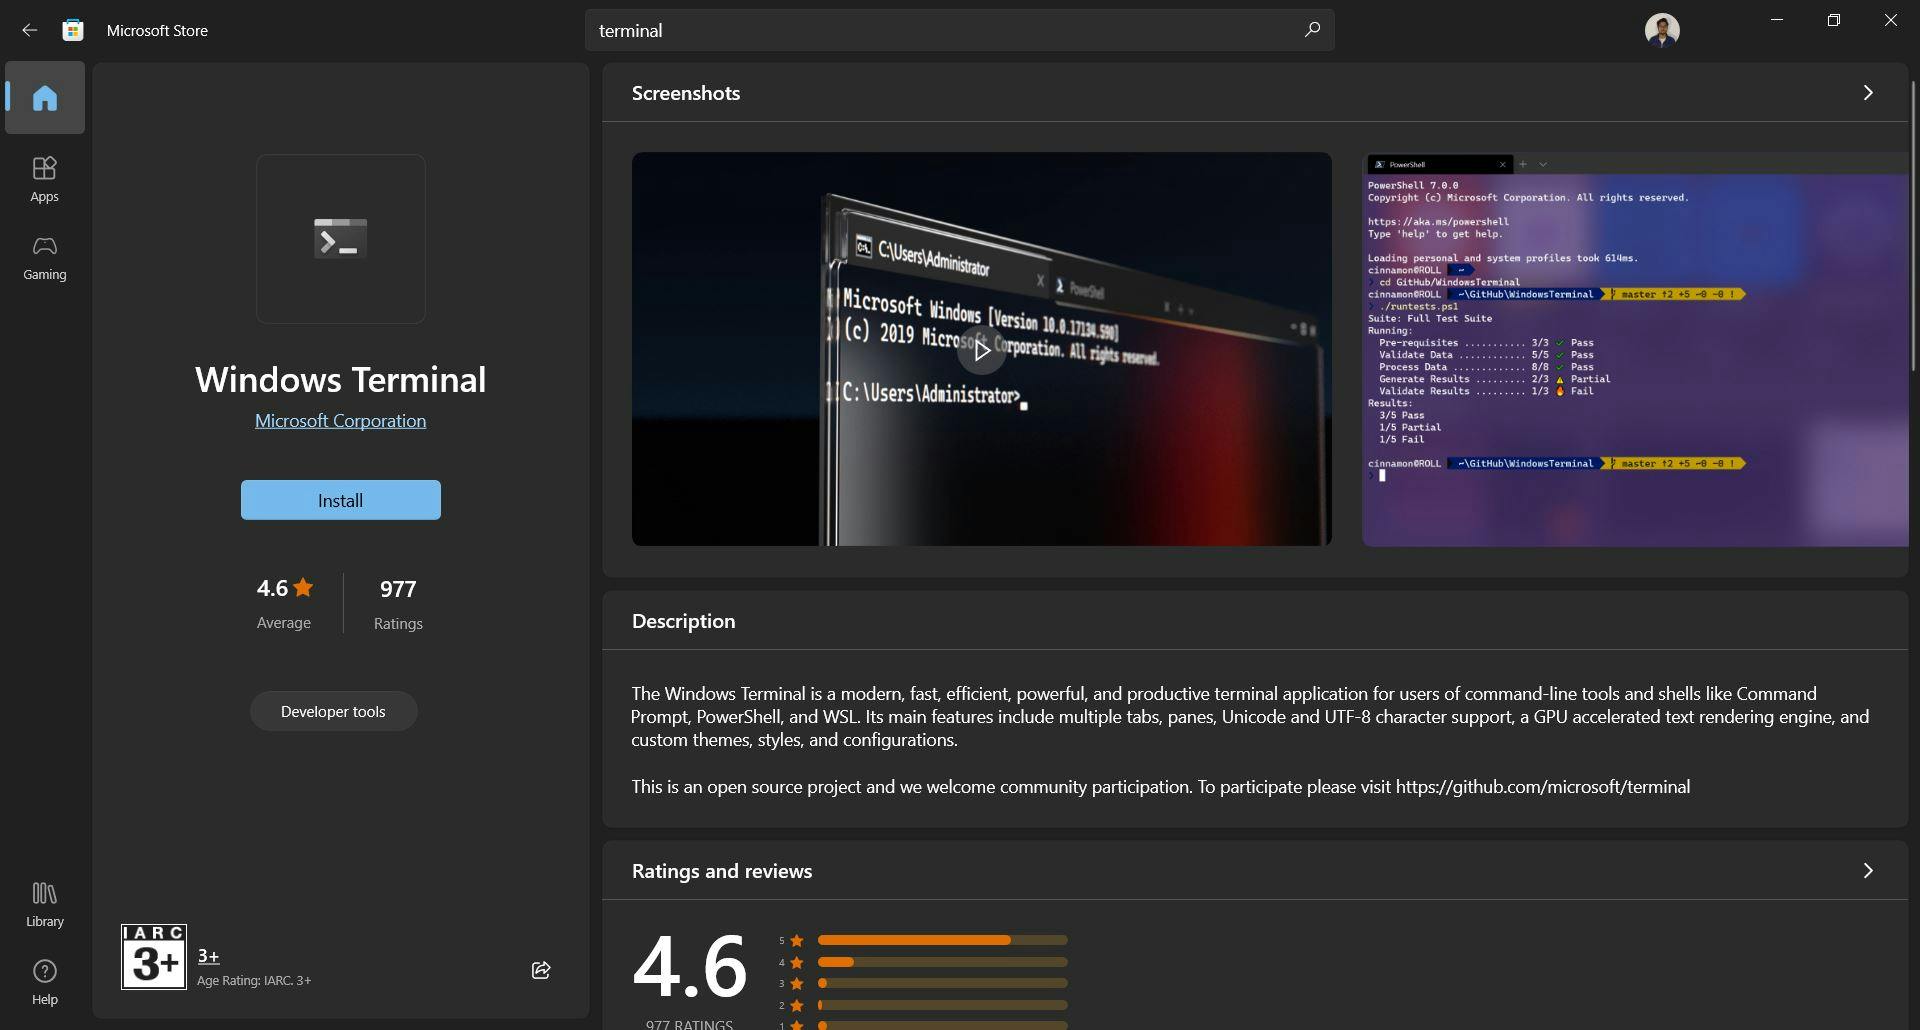
Before Installing Oh-my-zsh let's first install Windows Terminal. In Windows 11, the Windows terminal is pre-installed so you do not need to install the terminal. For Windows 10 Users we have to install the terminal. First, open the Microsoft Store application and type Windows Terminal. Open the one which says Windows Terminal and click on Install(or Get) button.
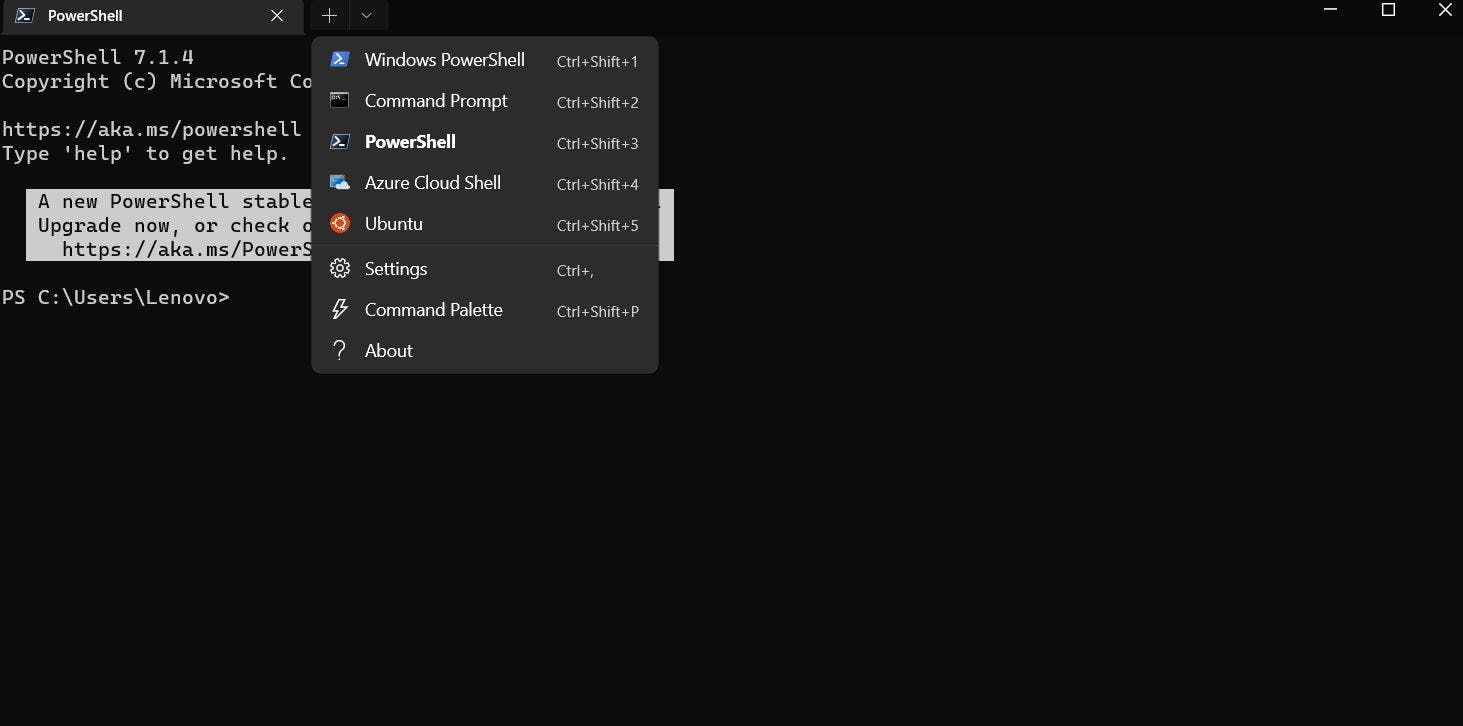
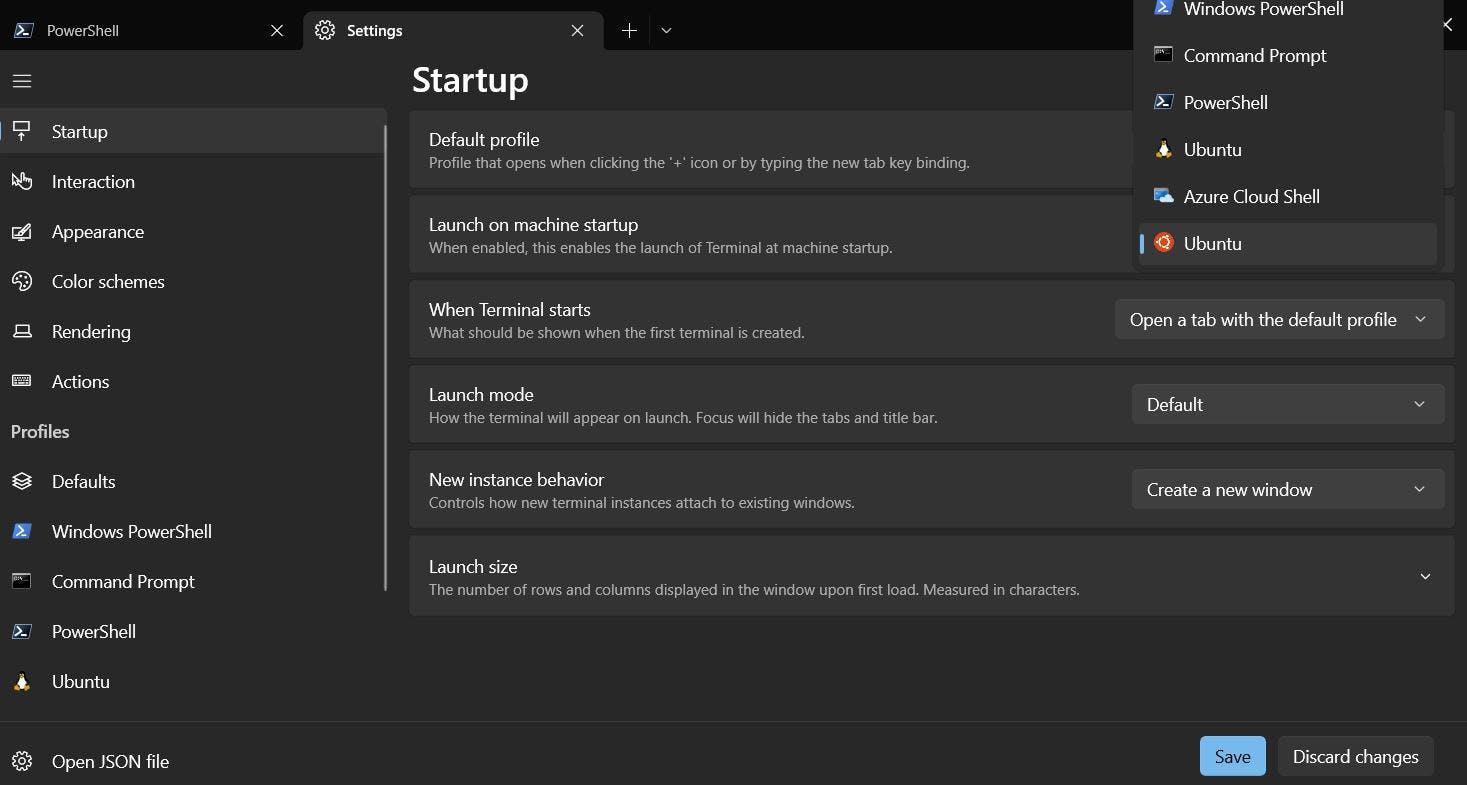
After Installing, open the Terminal and click on the downward arrow and then click on settings. After that, on the startup section change the default profile to Ubuntu(or any other Linux distribution) then click on Save and then restart the terminal.
Now let's install Oh-My-Zsh.
To install zsh, run
sudo apt-get update
sudo apt-get install -y zsh
this will update the latest package info and install zsh.
To install the OhMyZsh framework, run this command.
sh -c "$(wget -O- https://raw.githubusercontent.com/ohmyzsh/ohmyzsh/master/tools/install.sh)"
After that press Y to set ZSH as your default Shell.
After the successful installation, the shell starts to look different.
Oh-My-Zsh offers a ton of plugins, and themes for your environment, some of my favorite plugins are listed below:
You can refer to this link for more amazing plugins.
Conclusion
In this article, we explored what WSL is, how to install WSL on Windows, what systemd is, how to enable the systemd feature in WSL, and how to install Zsh.
In the next article, we will discuss how to install essential tools such as Docker, Kubectl, and Minikube, which are necessary to begin your journey in DevOps.
Reference Articles
Installing Linux on Windows with WSL by Microsoft
Systemd support is now available in WSL! by Craig Loewen
Starting your DevOps journey as a Windows User by Vaidansh Bhardwaj; KubeSimplify.
You can connect with me on Twitter.
Thanks a lot for reading my article.